TS
l9optimus
LG Optimus L9 P765. See More, Do More, Express More.

See More, Do More, Express More.
Quote:
SPECIFICATION
GENERAL 2G Network GSM 850 / 900 / 1800 / 1900
3G Network HSDPA 900 / 2100
SIM Mini-SIM
Announced 2012, August
Status Available. Released 2012, November
BODY Dimensions 131.9 x 68.2 x 9.1 mm (5.19 x 2.69 x 0.36 in)
Weight 125 g (4.41 oz)
DISPLAY Type IPS LCD, capacitive touchscreen, 16M colors
Size 540 x 960 pixels, 4.7 inches (~234 ppi pixel density)
Multitouch Yes
SOUND Alert types Vibration, MP3 ringtones
Loudspeaker Yes
3.5mm jack Yes
MEMORY Card slot microSD, up to 32 GB
Internal 4 GB, 1 GB RAM
DATA GPRS Class 12 (4+1/3+2/2+3/1+4 slots), 32 - 48 kbps
EDGE Class 12
Speed HSDPA, 21 Mbps; HSUPA, 5.76 Mbps
WLAN Wi-Fi 802.11 b/g/n, Wi-Fi Direct, Wi-Fi hotspot, DLNA
Bluetooth Yes, v3.0 with A2DP, EDR
NFC Yes
USB Yes, microUSB v2.0
CAMERA Primary 5 MP, 2592 x 1944 pixels, autofocus, LED flash, check quality
Features Geo-tagging, touch focus, face detection
Video Yes, 1080p@30fps, check quality
Secondary Yes, VGA
FEATURES OS Android OS, v4.0.4 (Ice Cream Sandwich)
Chipset TI OMAP 4430
CPU Dual-core 1 GHz Cortex-A9
GPU PowerVR SGX540
Sensors Accelerometer, proximity, compass
Spoiler for specification of P765:
GENERAL 2G Network GSM 850 / 900 / 1800 / 1900
3G Network HSDPA 900 / 2100
SIM Mini-SIM
Announced 2012, August
Status Available. Released 2012, November
BODY Dimensions 131.9 x 68.2 x 9.1 mm (5.19 x 2.69 x 0.36 in)
Weight 125 g (4.41 oz)
DISPLAY Type IPS LCD, capacitive touchscreen, 16M colors
Size 540 x 960 pixels, 4.7 inches (~234 ppi pixel density)
Multitouch Yes
SOUND Alert types Vibration, MP3 ringtones
Loudspeaker Yes
3.5mm jack Yes
MEMORY Card slot microSD, up to 32 GB
Internal 4 GB, 1 GB RAM
DATA GPRS Class 12 (4+1/3+2/2+3/1+4 slots), 32 - 48 kbps
EDGE Class 12
Speed HSDPA, 21 Mbps; HSUPA, 5.76 Mbps
WLAN Wi-Fi 802.11 b/g/n, Wi-Fi Direct, Wi-Fi hotspot, DLNA
Bluetooth Yes, v3.0 with A2DP, EDR
NFC Yes
USB Yes, microUSB v2.0
CAMERA Primary 5 MP, 2592 x 1944 pixels, autofocus, LED flash, check quality
Features Geo-tagging, touch focus, face detection
Video Yes, 1080p@30fps, check quality
Secondary Yes, VGA
FEATURES OS Android OS, v4.0.4 (Ice Cream Sandwich)
Chipset TI OMAP 4430
CPU Dual-core 1 GHz Cortex-A9
GPU PowerVR SGX540
Sensors Accelerometer, proximity, compass
Quote:
PHOTOS


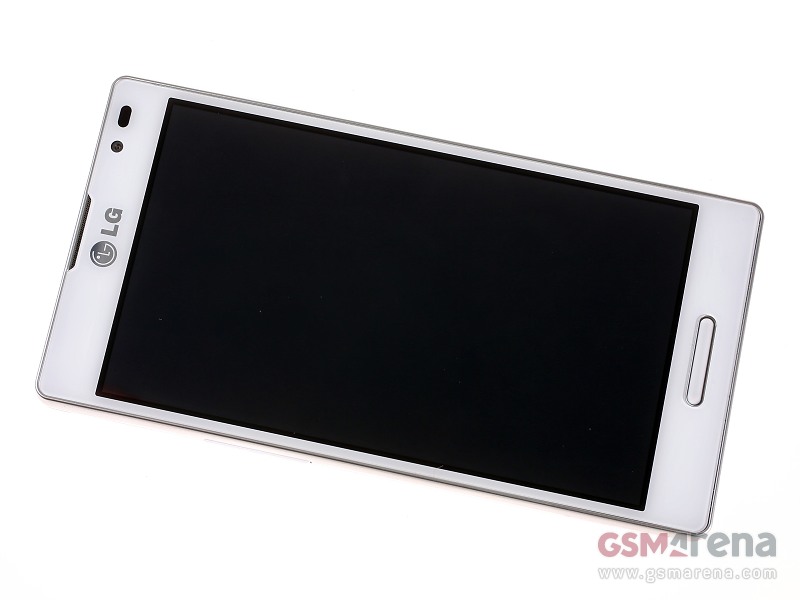
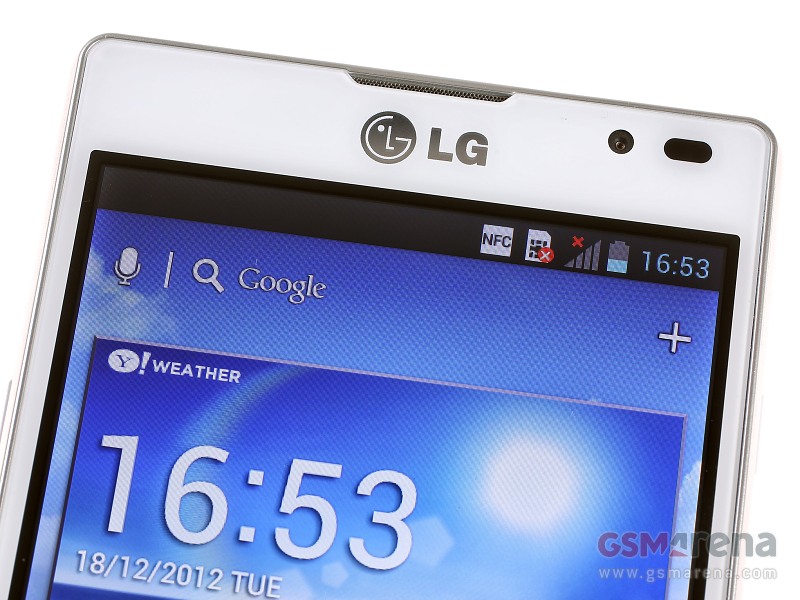
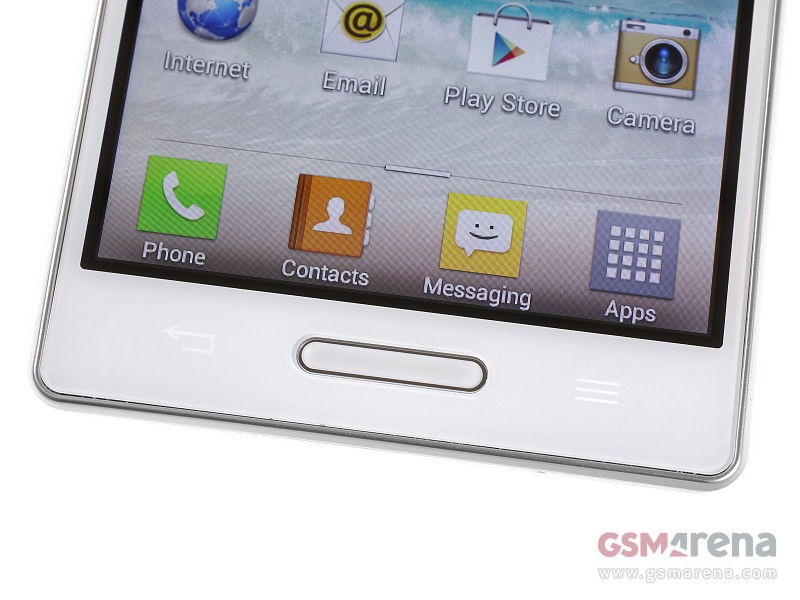
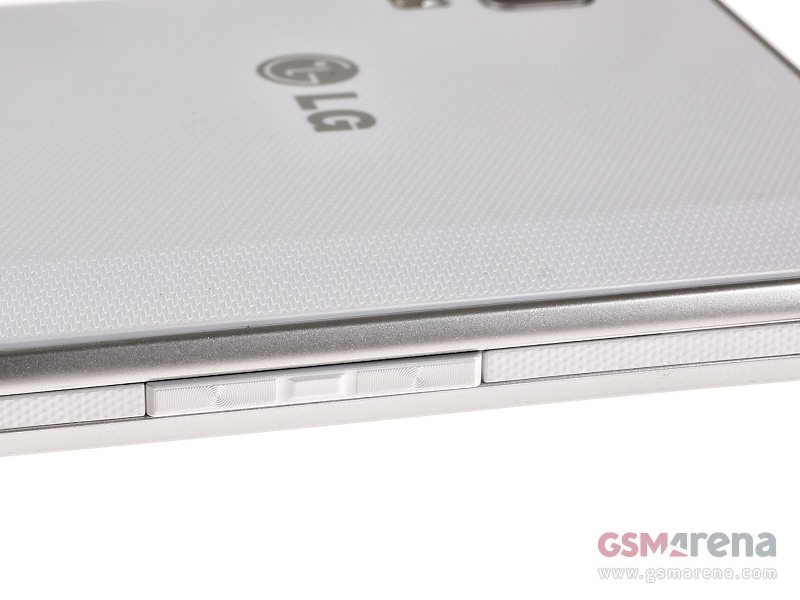
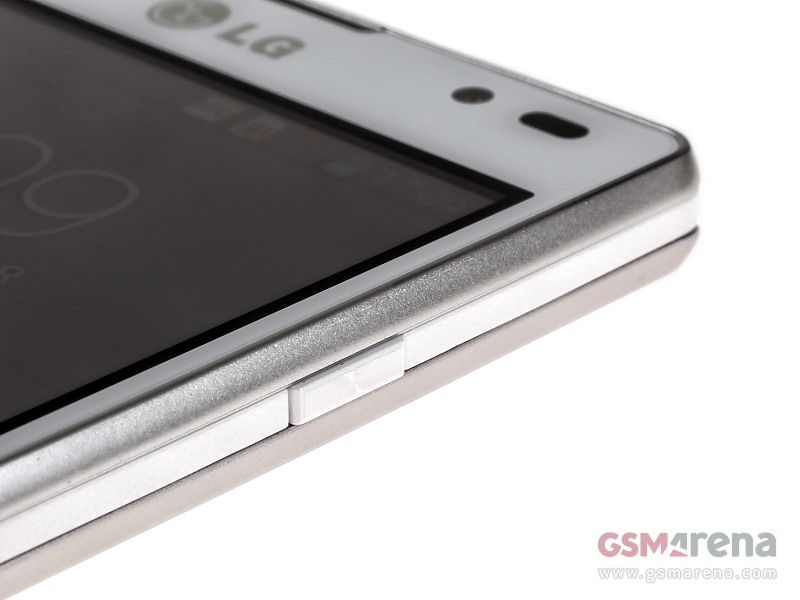
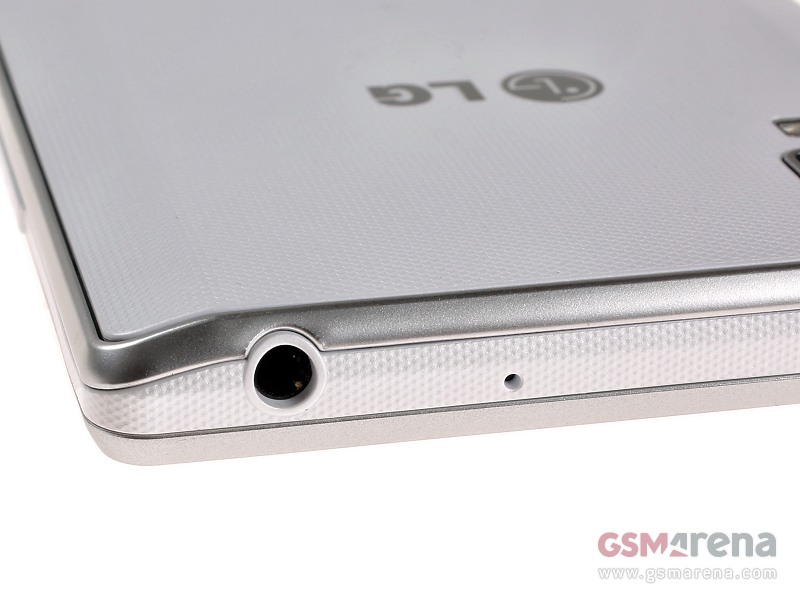
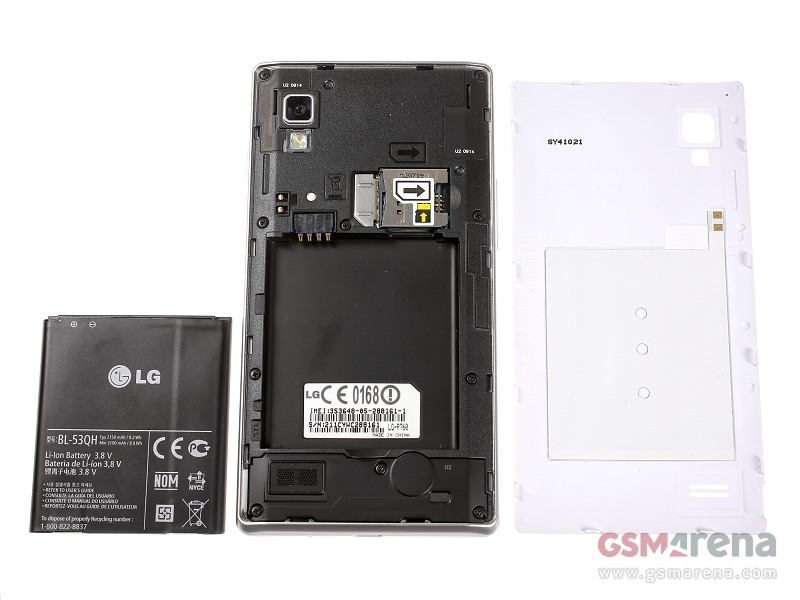
Spoiler for P765 Pics:


Quote:
WHAT TO DO FIRST?
1. Tentukan anda ingin install JB atau ICS.
2. Pilih ROM anda disini
Bila anda memilih JB baca ini:
3. Lakukan proses flashing KDZ JB disini
4. Lakukan proses untuk mengunlock bootloader dan install CWM disini
5. Lakukan proses root disini
6. Done
Bila anda memilih ICS baca ini:
Ada 2 opsi untuk melakukan root di ICS yaitu dengan metode Lelus dan Binary.
Kita bahas dulu perbedaannya :
1. Metode Lelus, proses root dilakukan bersamaan dengan proses flash KDZ dan metode ini lebih di rekomendasi karena dengan metode ini semua jenis ROM ICS dari A-G dapat di root. Kelemahan dari metode ini adalah prosesnya yang rumit dan perlu niat. Perlu juga belajar cara mengekstrak KDZ dan mengedit HEX yang bisa agan baca disini. Baca caranya disini
2. Metode Binary, metode root pertama untuk L9. Proses root dilakukan setelah proses downgrade KDZ ke versi ICS 10B Indo. Setelah itu proses root dilakukan dengan script terpisah. Metode ini hanya bekerja untuk OS V10B. Setelah root berhasil, maka anda dapat melakukan update ke versi terbaru.
Baca caranya disini
Spoiler for What to do?:
1. Tentukan anda ingin install JB atau ICS.
2. Pilih ROM anda disini
Bila anda memilih JB baca ini:
Quote:
3. Lakukan proses flashing KDZ JB disini
4. Lakukan proses untuk mengunlock bootloader dan install CWM disini
5. Lakukan proses root disini
6. Done
Bila anda memilih ICS baca ini:
Quote:
Ada 2 opsi untuk melakukan root di ICS yaitu dengan metode Lelus dan Binary.
Kita bahas dulu perbedaannya :
1. Metode Lelus, proses root dilakukan bersamaan dengan proses flash KDZ dan metode ini lebih di rekomendasi karena dengan metode ini semua jenis ROM ICS dari A-G dapat di root. Kelemahan dari metode ini adalah prosesnya yang rumit dan perlu niat. Perlu juga belajar cara mengekstrak KDZ dan mengedit HEX yang bisa agan baca disini. Baca caranya disini
2. Metode Binary, metode root pertama untuk L9. Proses root dilakukan setelah proses downgrade KDZ ke versi ICS 10B Indo. Setelah itu proses root dilakukan dengan script terpisah. Metode ini hanya bekerja untuk OS V10B. Setelah root berhasil, maka anda dapat melakukan update ke versi terbaru.
Baca caranya disini
Diubah oleh l9optimus 16-03-2013 20:11
0
291.8K
Kutip
2.6K
Balasan
Komentar yang asik ya
Mari bergabung, dapatkan informasi dan teman baru!
Android
29.6KThread•17.5KAnggota
Tampilkan semua post
TS
l9optimus
#5
Quote:
MODS
Spoiler for How To Install CWM on ICS:
Requirements :
1. Rooted
How to install?
1. Download ini dan install apk
2. Run aplikasinya
3. Pilih install/update recovery
4. Pilih CWM (install this)
5. Pilih Yes, install recovery
6. Done, untuk boot ke recovery tekan tombol vol down pas lagi booting
How to remove?
1. Hapus /system/bootstrap directory
2. Hapus /system/bin/e2fck
3. Rename /system/bin/e2fck.bin ke e2fck
4. Done
Spoiler for How to Unlock Bootloader and Install CWM on JB:
note : L9 akan terhard reset otomatis! Jadi backup dulu file anda

1. Download file ini
2. Ekstrak ke C:
3. Jalankan file flash_bootloader.bat, nanti device kita bakal ke unlock bootloadernya
4. Jalankan file flash_recovery.bat dan recovery akan terinstall
5. Lakukan fastboot reboot
6. Tekan vol +, home dan power untuk mengakses recovery
Spoiler for How to Exchange Memory?:
Requirement:
1. Rooted
How to exchange memory?
1. Buat file dengan ekstensi .sh menggunakan notepad, bila agan menggunakan ICS isi dengan
mount -o remount,rw /
mount -t vfat -o umask=0000 /dev/block/vold/179:61 /mnt/sdcard
mount -o bind /data/media /mnt/sdcard/external_sd
chmod 777 /mnt/sdcard/external_sd
Kalau menggunakan JB download file nya langsung disini
copas ke system/etc
2. Buat folder external_sd di dalam folder external_sd
3. Install Root Explorer dan Script Manager - SManager di Google Play
4. Buka Script Manager, cari file .sh tadi pilih script/executeable
5. Pilih su, boot, save dan run.
6. Done
Spoiler for Overclock Tutorial:
Requirement:
1. Rooted
2. CWM
How to OC?
1. Download ini dan flash dengan CWM
2. Buka /system/etc/init.d/98oc dengan Root Explorer. Ganti isinya sesuka hati asal masih masuk akal :
Code:
echo 0 300 980 > /proc/cpu_control/tweak_cpu
echo 1 600 1200 > /proc/cpu_control/tweak_cpu
echo 2 800 1300 > /proc/cpu_control/tweak_cpu
echo 3 1200 1370 > /proc/cpu_control/tweak_cpu
Misal, mau OC ke 1.3 GHz, echo 3 bisa kita ubah ke
echo 3 1300 1370 > /proc/cpu_control/tweak_cpu
Spoiler for Script Supercharger v6:
Gunanya untuk optimalisasi kinerja Android, termasuk mengurangi lag, hemat batery dan ram
Requirement :
1. Rooted
2. S Manager
3. Script v6 SC
How to install?
1. Install Script Manager, Buka aplikasi Script Manager, lalu pilih Menu - Others/tanda panah kebawah - Advanced - Configuration, centang browse as root dan export $HOME.
2. Rename .txt tadi ke <suka2>.sh, pilih scriptnya, tandai as root, su dan run. Isi dengan angka
2 -> tweak hemat batere
6 -> tweak balance
7 -> multitasking
9 -> mega ram.
16 -> reboot.
3. Buka Root explorer, masuk ke data/ , lalu cari fle 99supercharger, rename jadi S99SuperCharger
4. Done
Spoiler for Install Nexus 4 Keyboard + Photosphere:
1. Download Nexus4key+camdan PS
2. Flash pakai CWM yang N4Key+cam dulu lalu dilanjut dengan photospehere *opsional*
3. Dibagian setting ubah default keyboard ke Android
Diubah oleh l9optimus 18-03-2013 11:32
0
Kutip
Balas